Creating an effective Facebook ad campaign is essential for medspa owners looking to attract new clients and grow their business. This guide will take you through the process of setting up a Facebook ad campaign, ensuring that your ads are targeted, engaging, and effective.
Step 1: Preparation
Before diving into the creation of your ad campaign, ensure you have the following ready:
- Installed Facebook Pixel and Conversion API
- Landing page link
- Folder with ad creatives (images, videos, and ad copy)
Step 2: Verify Pixel Installation
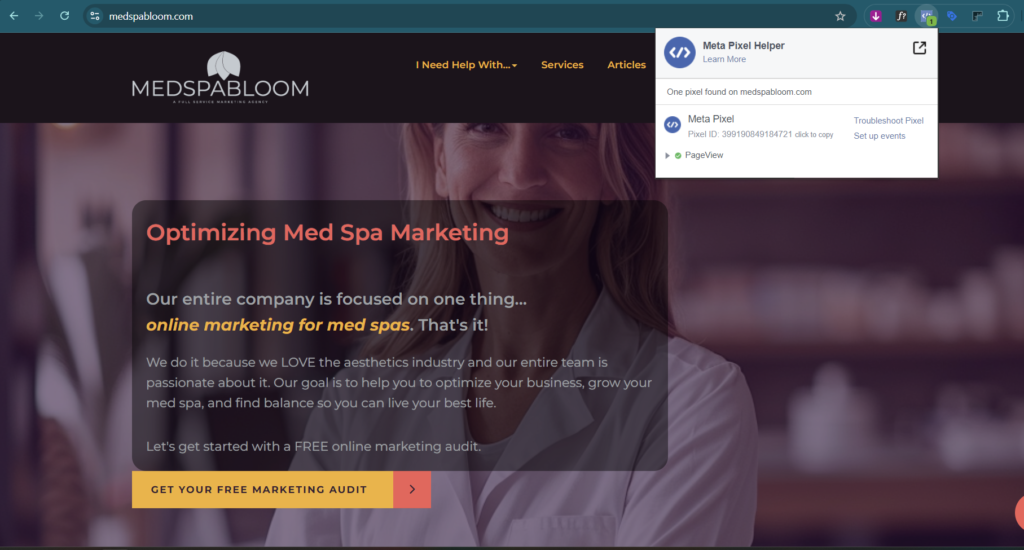
- Check Pixel Installation: Use the Meta Pixel Helper add-on in Chrome to confirm that your Facebook Pixel is correctly installed on your landing page. This step ensures your tracking is set up properly.
Step 3: Review and Download Creatives
- Open the Creatives Folder: Check that you have the correct ad copy and creatives for your campaign.
- Download Creatives: Download the images and videos to your computer for easy access.
Step 4: Set Up Your Campaign
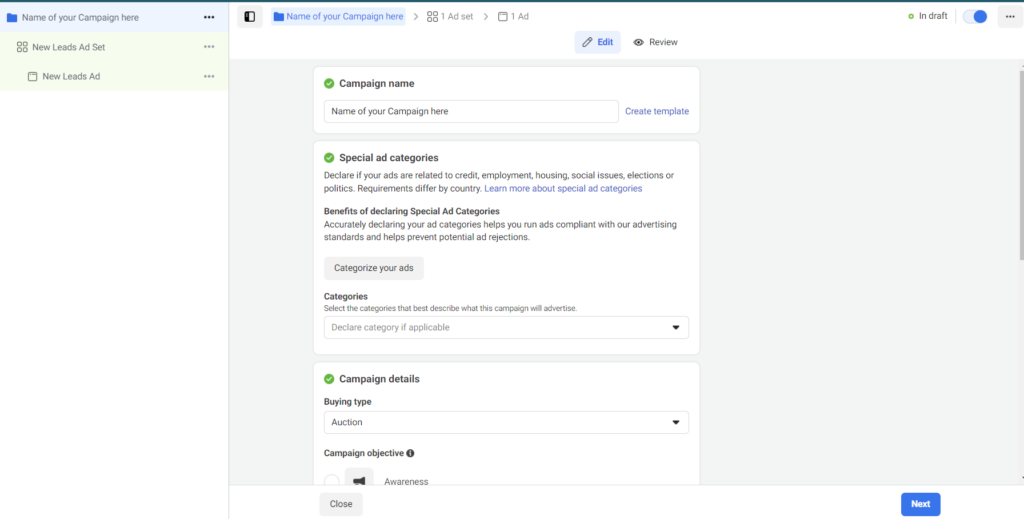
- Create a Campaign: In Facebook Ads Manager, click on “Create” and select “Leads” as the campaign objective. Click “Continue”.
- Label Your Campaign: Name your campaign to keep it organized. For example, label it with the location and service, like “Fullerton Slimshot Campaign”.
- Set Budget: Enter your campaign budget. For instance, a $1,500 budget spread over 30 days equals $50 per day.
Step 5: Define Your Target Audience
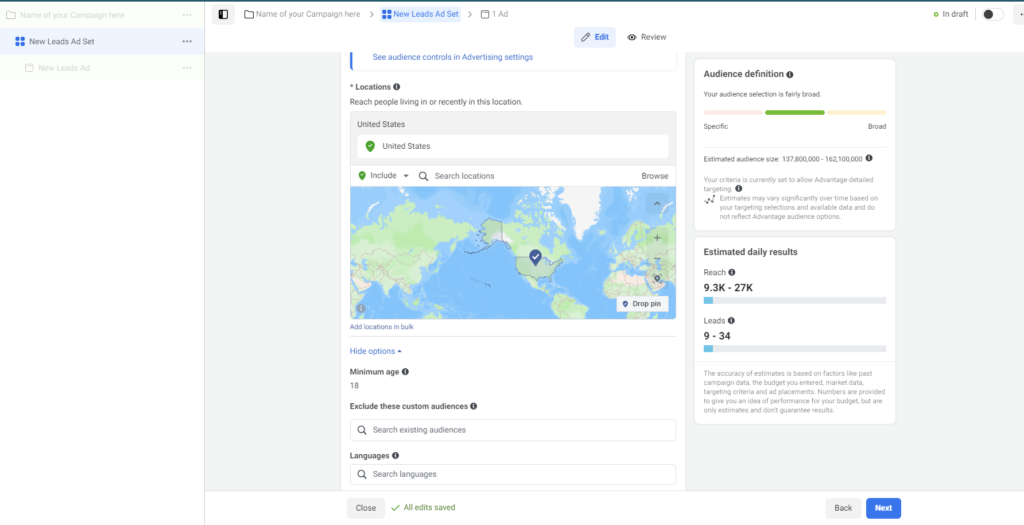
- Set Target Location: Input the address of your target location. For example, “2501 East Chapman Avenue, Fullerton”.
- Age and Gender Targeting: Initially, leave the age range open. Create separate ad sets for female and male audiences to better tailor your creatives and copy.
- Interest Targeting: Add relevant interests such as “Weight Loss”, “Health and Wellness”, and “Fitness”.
Step 6: Build Your Ad Sets
- Label Ad Sets Clearly: Use clear labels for your ad sets to make them easily identifiable for team members. For example, “Fullerton – Female – Slimshot”.
- Ensure Correct Facebook Page: Verify that the ads will be delivered from the correct Facebook page, especially if you manage multiple locations.
Step 7: Add the Landing Page URL
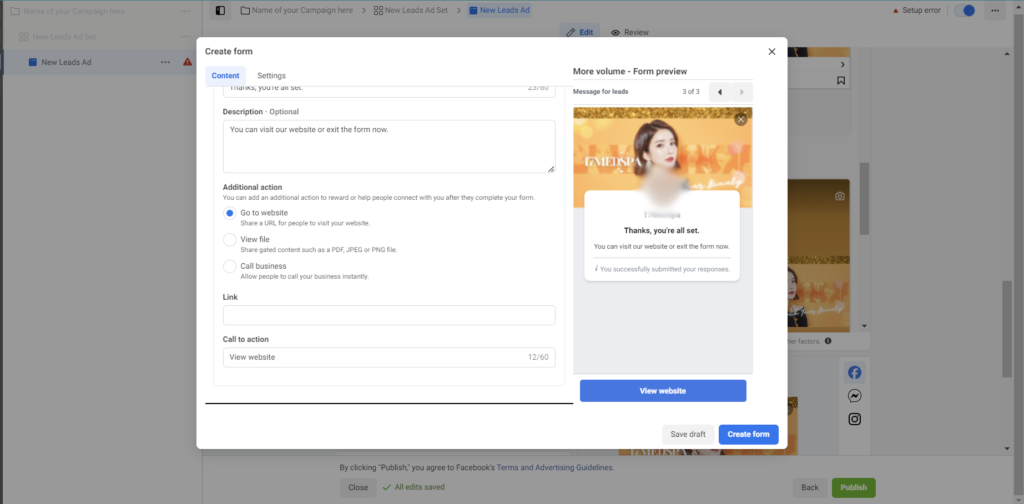
- Enter URL: Copy and paste the landing page URL into the designated field in your ad setup. This URL directs users to the relevant page when they click on your ad.
- Verify Call Feature: If applicable, add the phone number from your landing page to the call feature in the ad.
Step 8: Upload Creatives
- Upload Images and Videos: Click to upload all your ad images and videos. Ensure that the creatives are correctly formatted for different ad placements (feeds, stories, etc.).
- Optimize Creative Elements: Facebook offers optimization options such as adding music or animations to enhance your ad. Ensure “All Optimizations” is turned on for the best performance.
Step 9: Add Primary Text and Headlines
- Primary Text: Add your main ad text. You can add up to five variations to allow Facebook’s AI to optimize delivery.
- Headlines: Input different headlines. For example, “Jumpstart Weight Loss with a Free Consult” and “Free Consultation for Slimshot”.
- Descriptions: Add descriptions like “Slots are filling up, hurry!” and “Limited time offer in Fullerton, CA”.
Step 10: Set Call to Action
- Choose Call to Action: Select an appropriate call to action. For consultations or non-monetary offers, “Sign Up” works well. For direct offers, “Get Offer” may be more suitable.
Step 11: Final Review and Publish
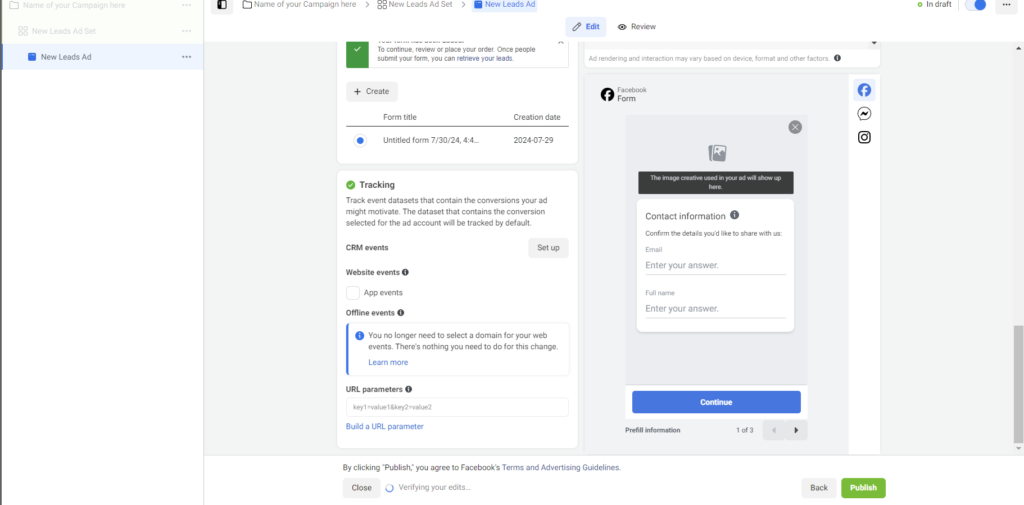
- Double-Check Everything: Before publishing, double-check that all details (pixel, URL, phone number, ad copy, and creatives) are correct. This helps avoid mistakes that could cost you leads or money.
- Duplicate Ad Sets: Create duplicates of your ad sets for different audiences (e.g., male and female) by copying and updating the creatives.
- Publish Campaign: Once everything looks good, publish your campaign. Monitor its performance and make necessary adjustments.
Conclusion
Following these steps will help you set up a successful Facebook ad campaign for your medspa. Regularly review and optimize your campaigns to ensure they perform well and bring in the desired results. Happy advertising!
Share this content:
